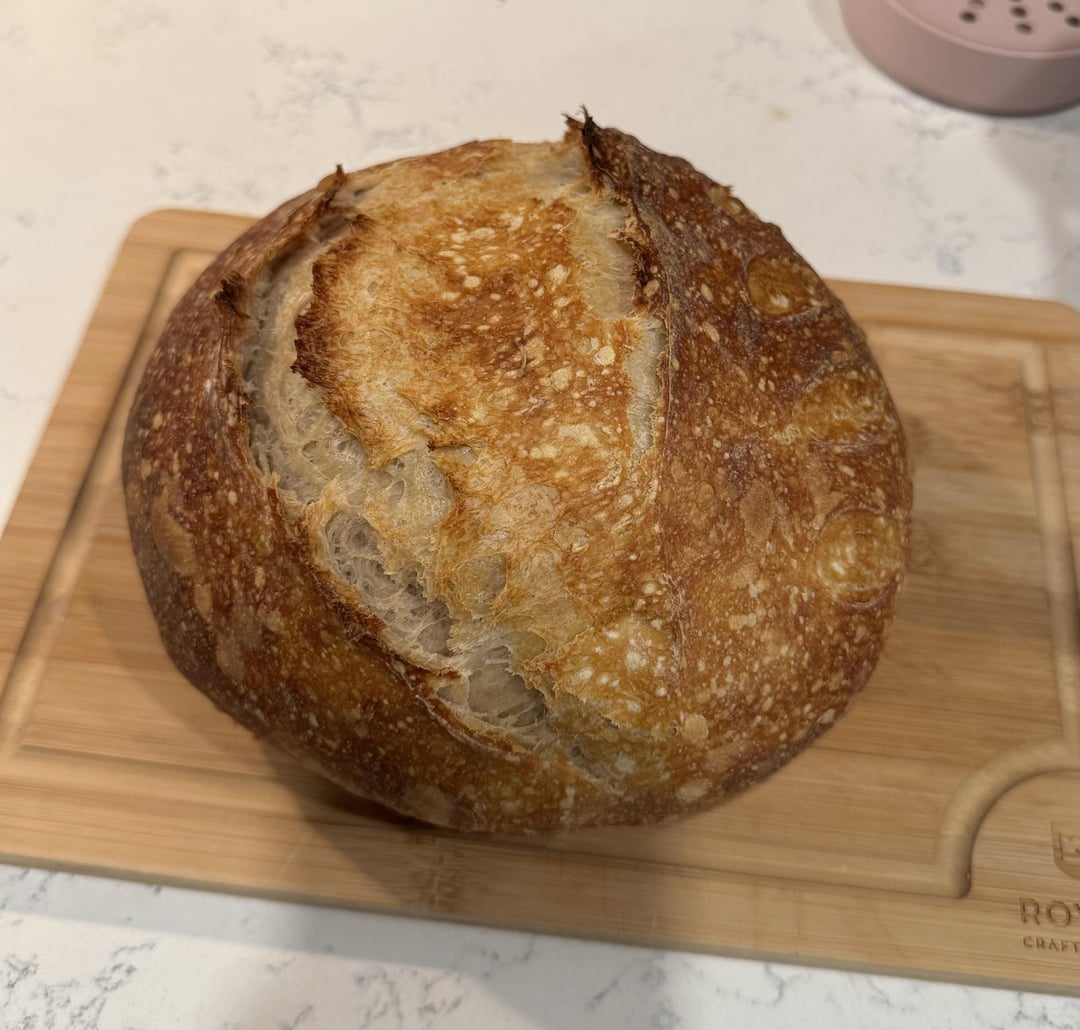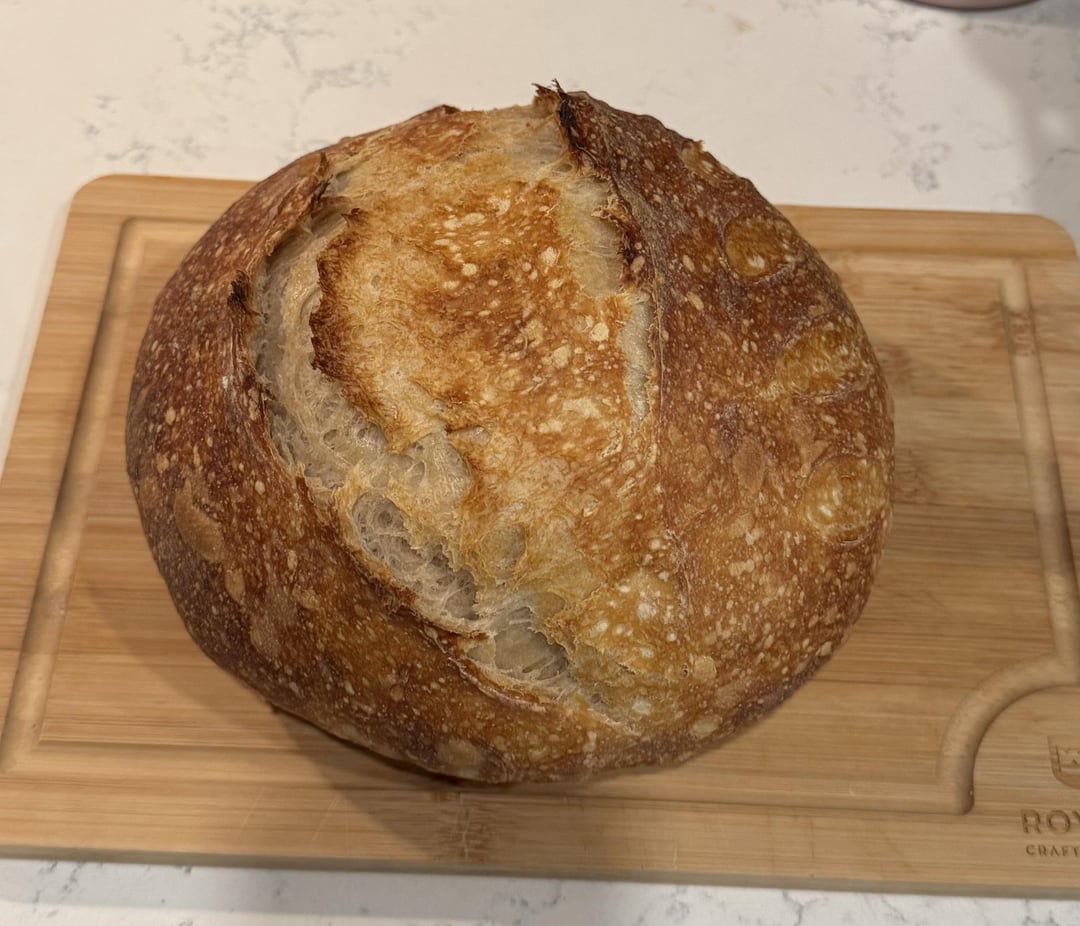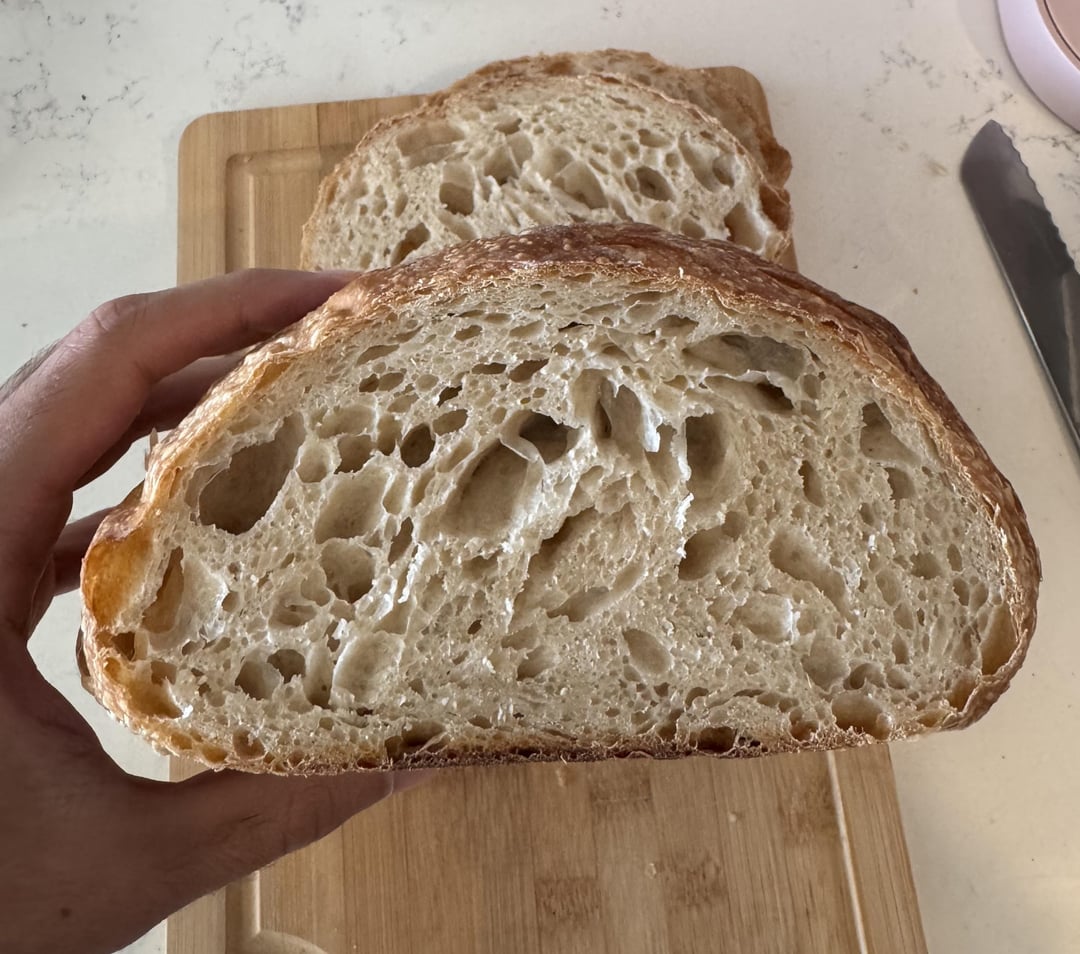


I’ve been doing this a month or so now and this (in my opinion) is my best loaf. Ive been more diligent about each stage including getting my starter up to par. Recipe below:
I mixed 500g of bread flour with 350g of water, 12g of salt, and 100g of starter. I let it sit ~30 minutes then did 4 sets of stretch and folds every 30 minutes. I let it bulk ferment for about 4-5 hours at just above room temp (sitting in the sun on my window with saran wrap and a towel over the bowl). Then pre-shaped and let proof for like 45 minutes at just below room temp (window open ~60 F air) then placed in the fridge to cold proof for about 5 hours. I then shaped again, scored, and baked her in a dutch oven at 475 with the lid on for 30 minutes then reduced to 425 for 20 minutes. I let it rest for like 2 hours then had a taste (it passed).
Any feedback is welcome and appreciated!
by ContagiousCompetence

18 Comments
This looks fantastic to me! 🤤
It looks amazing. No need to hurt your feelings today. 🙂
But why pre-shape, cold retard, and shape again? Is that what the recipe says? That’s a little odd.
It looks amazing!
Gorgeous!!
I am a newbie. This is perfection in my eyes. Looks amazing!!!
Hi. Very good looking loaf. Well donek there is just a hint IMO that it is a little under ferment evidenced by large tunnel like voids and perhaps a little stretch and fold.
Hope this may helpk
Forming gluten:
Several sets of folding and stretching and folding. Starts after a minimum rest of 1 hour autolyse(water absorbtion).
• simple bowl or counter stretch:
The dough will tend to stick to the surface. With wetted fingers tease up the far edge of the dough and lift up as far as it will without tearing, gently. Pull across to other side and lower down to seal on top. Twist 90° and repeat two or three times. When the dough resists, won’t lift, it is time to rest minimum 1/2hr to allow dough to relax. Repeat 3 to four times at 1/2 hour intervals
• Coil fold: bowl or counter. Tease wetted fingers in under edges of dough both sides, lift gently and allow self weight to draw down dough. Drop the near edge down ‘coiling’ the remaining bulk over to the other side. Repeat until the dough will not stretch under own weight. Time to rest dough . Three to four sets in all.
• Lift slap fold: on the counter , strectch dough to about 1″ thick. Reach over with wetted fingers and tease under corners. Lift up ajd across whole swinging the dough away so the dropping free edge slaps down then fold over the held corners and tap down. Repeat 3 to 4 times. Until no more stretch. Repeat sets at 1/2 hour intervals.
These folds are mix and match 3 to 4 sets combined total.
• Letter fold: like laminating; part of shaping process. Stretch dough out to roughly 1/2 ” thick rectangle. Lift far edge over to third point then fold other edge over. Tightly roll dough and pul tuck corners under bulk of dough to tension the boule. Lift and place in prepared banetton ready to proof after a rest of a minimum of 1/2 hour.
Happy baking
Wow! This is beautiful! Thank you for sharing it and for the detailed recipe. I’m so discouraged today because my starter is not doing anything. It bubbles when I feed it, but it is has only been 5 days, and I have goofed up twice by feeding it too often and letting it get too cold overnight. Still, I refuse to give up. I’m starting my own homemade starter today by mixing equal weights of bread flour mixed with KA WE flour and water. I’m not paying for another dehydrated starter!
Better than mine! Looks great!
Wow! I love this! I have been watching YouTube videos on how to stretch and fold, and I heard about slapping the dough but had no idea how. You are a wealth of knowledge and I thank you!
The bread is amazing and so are you. I would hurt your feelings, stranger on the internet.
she’s gorgeous
My only suggestion would be to ferment it overnight for around 24 hrs in the refrigerator. More time to ferment = more flavor. It takes some planning ahead and practice to nail the proofing after you take it out, but I think it’s worth it every time.
Your loaf is beautiful!
That’s a beauty
I’d eat it 😆
Looks way better than my last loaf. Keep at it. Practice makes perfect.
Looks beautiful to me! A lot of my loaves come out like this and in my case, they’re just a bit under proofed. I discovered this by extending my BF a bit longer and found that my crumb was more even (fewer denser areas). I find it has a better texture too. Excellent job though!
Looks good.
Wait several hours before cutting.
Score more deeply and go over the score more than once if necessary. This will help with the bread expand and assist in ovenspring.
Keep baking weekly and you will naturally improve over time, but don’t get caught up with the technical aspect of sourdough. As long as it tastes good, that should be the number one priority.
Looks great. I don’t really know what people want more than a bread like this!!