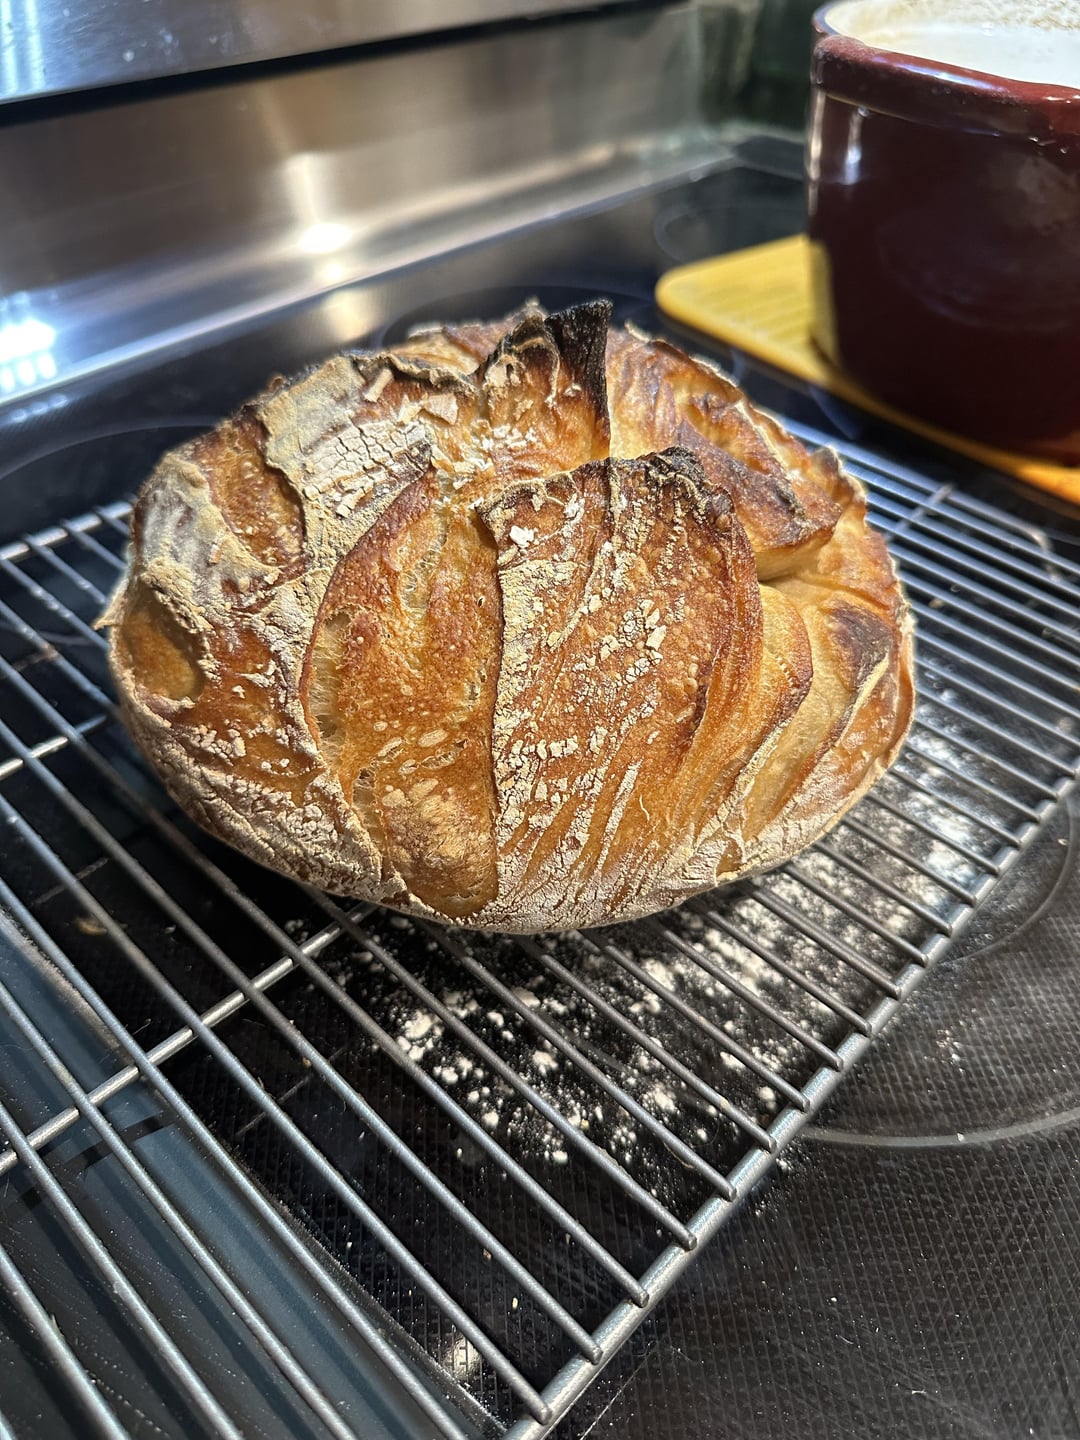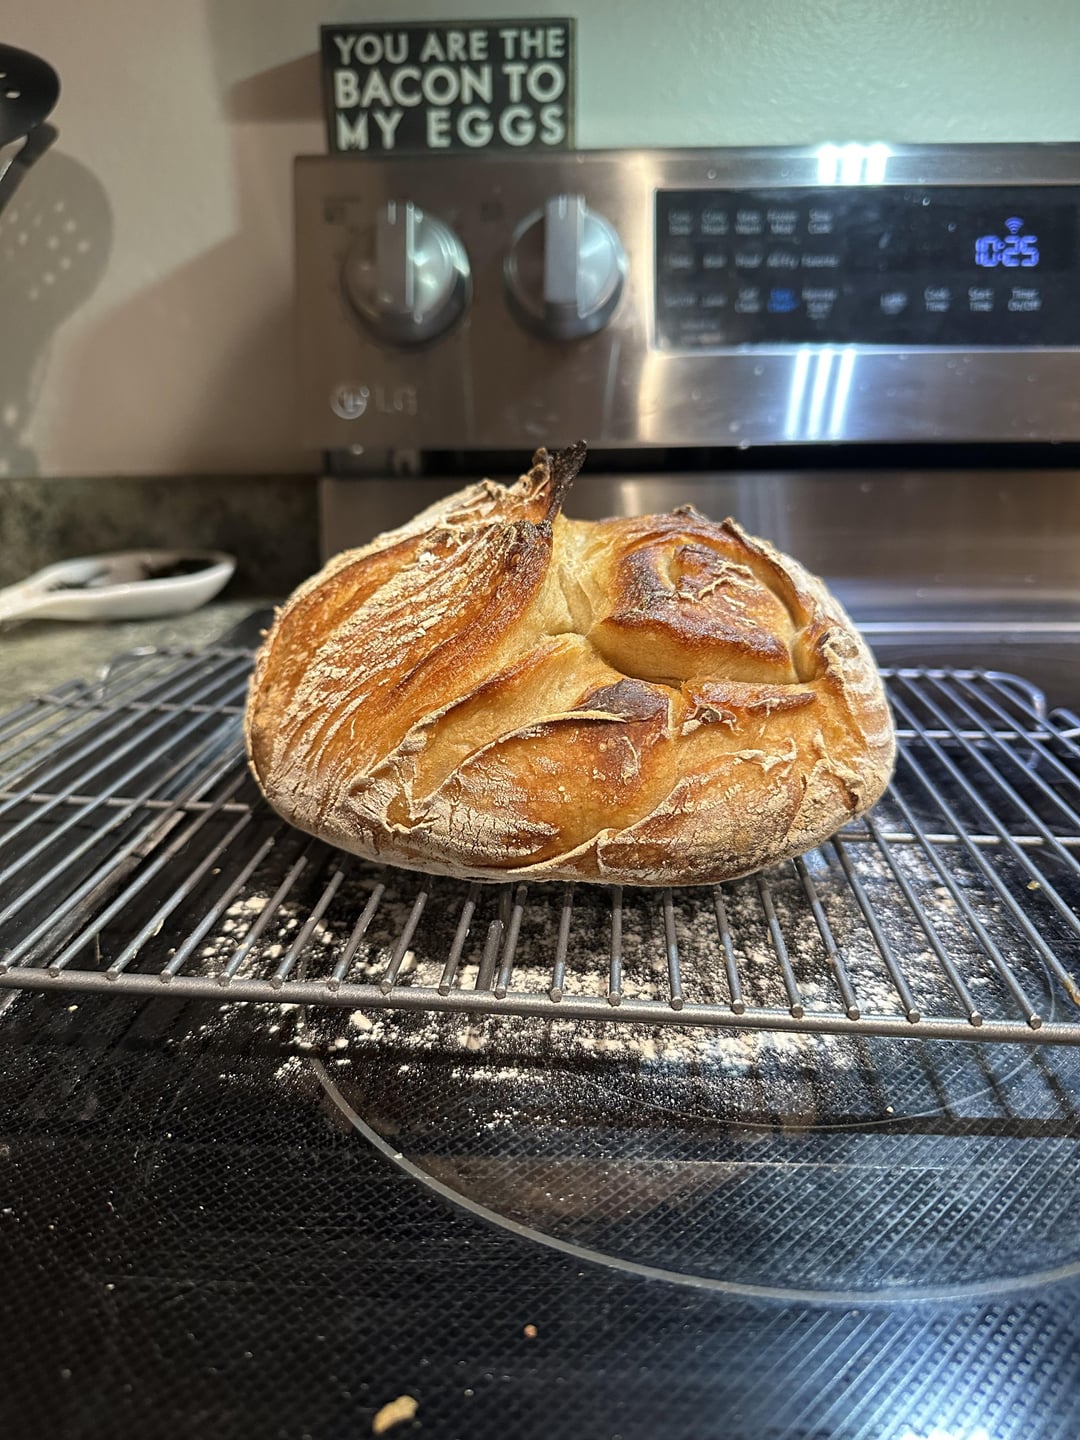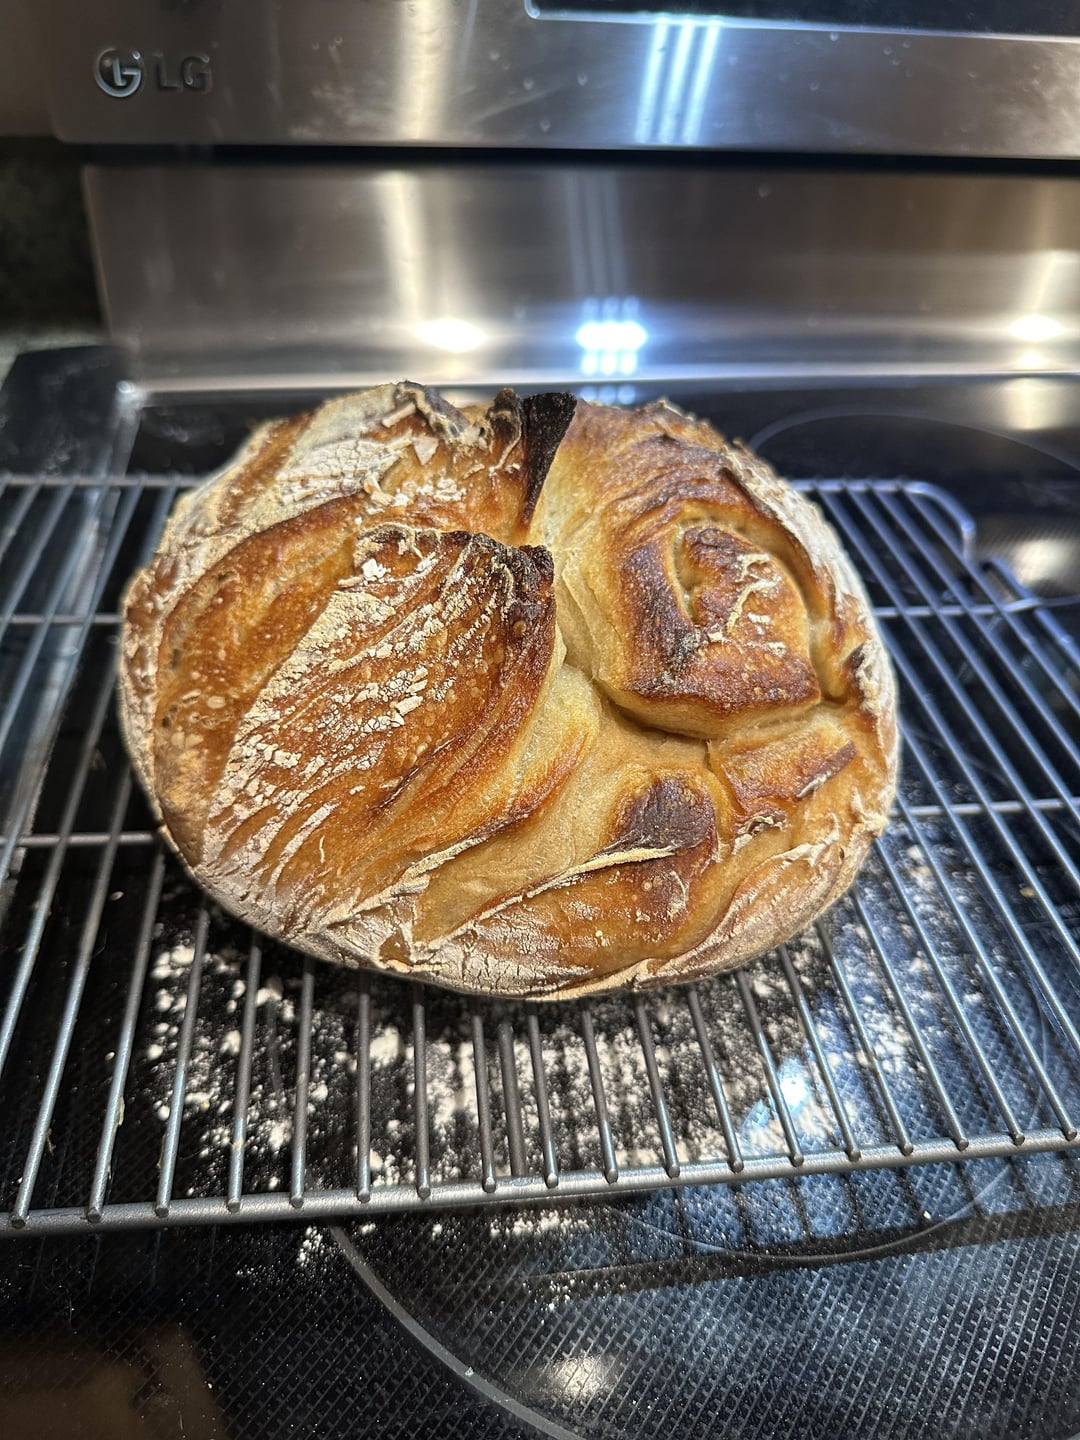


It’s so beautiful 😭😭😭 method in comments. If you look at my last post you’ll see my disappointing flat loaf—I had it in the fridge for way too long and I’ve been underproofing for a long time now. I’m not even sure how I got those swirls, I have a hard time shaping dough (though this one was PERFECTLY proofed and easy to handle) and had to roll it up twice…but it turned out so neat!
by Kirby223

3 Comments
Recipe:
Autolyse
– 450g bread flour
– 50g whole wheat flour
– 360g water
* Mix flour and water until no dry bits remain.
* Cover and let rest for 1 hour.
Mix dough
– All of the autolysed dough
– 100g active sourdough starter
– 10g salt
– 20g water (I used like maybe half of this )
* Add the starter to the autolysed dough and mix until incorporated.
* Sprinkle salt over the dough and pour in the water in increments, mixing until cohesive.
* Perform a set of coil folds or slap and folds if the dough feels slack, adding structure for a higher rise.
* Continue with 4 stretch and folds every 30 minutes over 2 hours.
Bulk Fermentation:
* Bulk ferment on the counter until the dough shows a 75% rise. This can take 4-6 hours depending on room temperature.
Shape and Pre-Shape:
* After resting, gently shape into a round or oval. Let rest for 30 minutes.
* For extra tension, perform a gentle coil fold here before final shaping.
Final Shaping
* Shape the dough into a tight boule or batard with extra care, creating good surface tension. Aim to trap gas while stretching the surface.
* Place in a heavily floured proofing basket, seam side up.
Cold Proof
* Overnight cold proof up to 16 hours (I did about 12 during the day)
Day 2:
* Preheat to 500°F (260°C) with a Dutch oven
* Transfer dough to parchment paper, score it, and load it into the preheated Dutch oven.
* Bake at 500°F with the lid on for 20 minutes.
* Reduce to 450°F (230°C), remove the lid, and bake for an additional 20-25 minutes for extra rise and caramelization.
Show us the inside!
Bottle that feeling, friend!