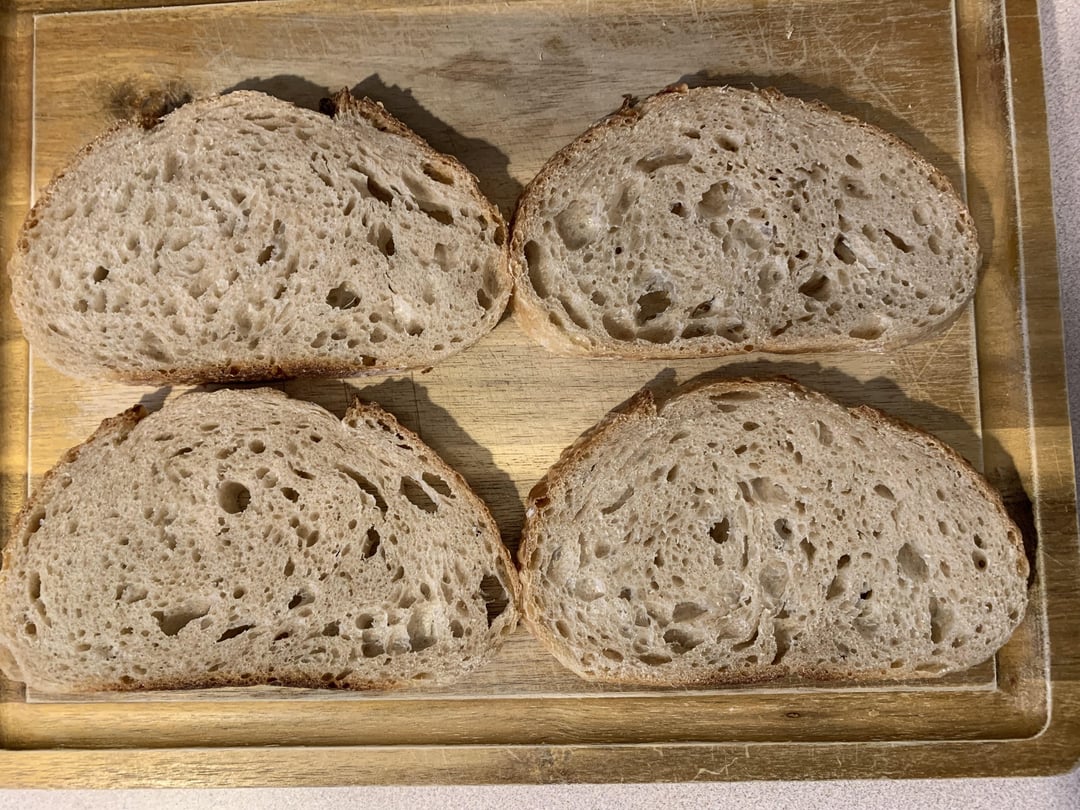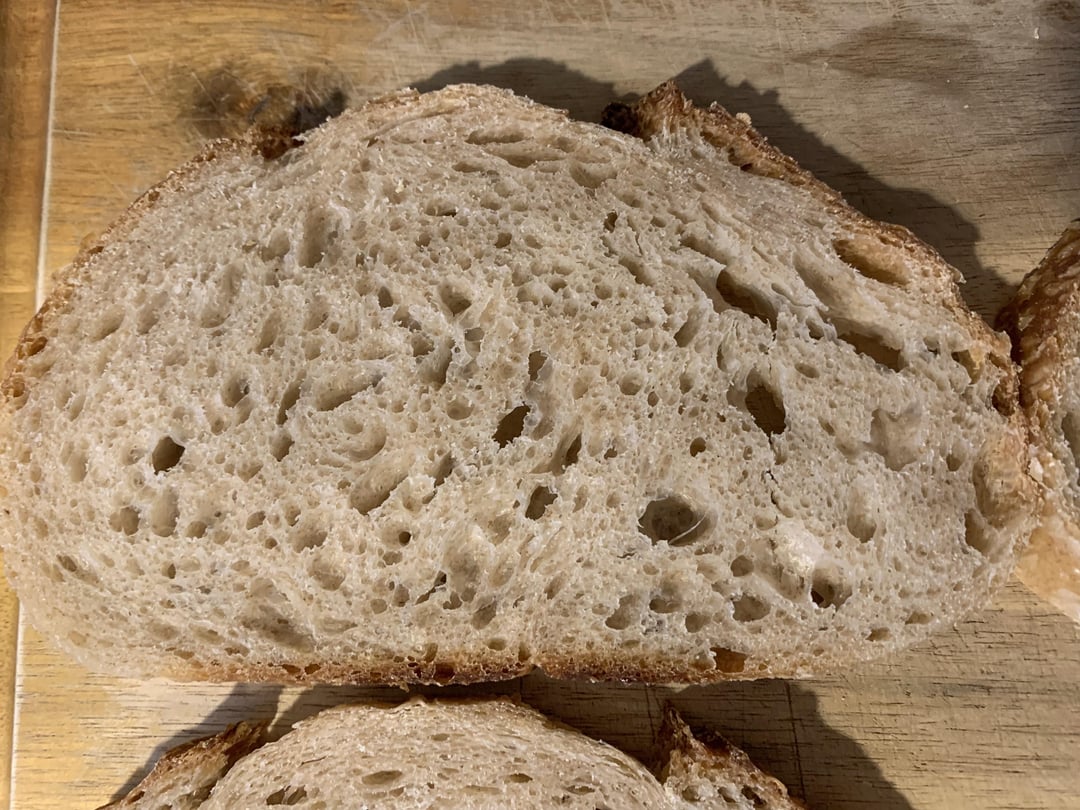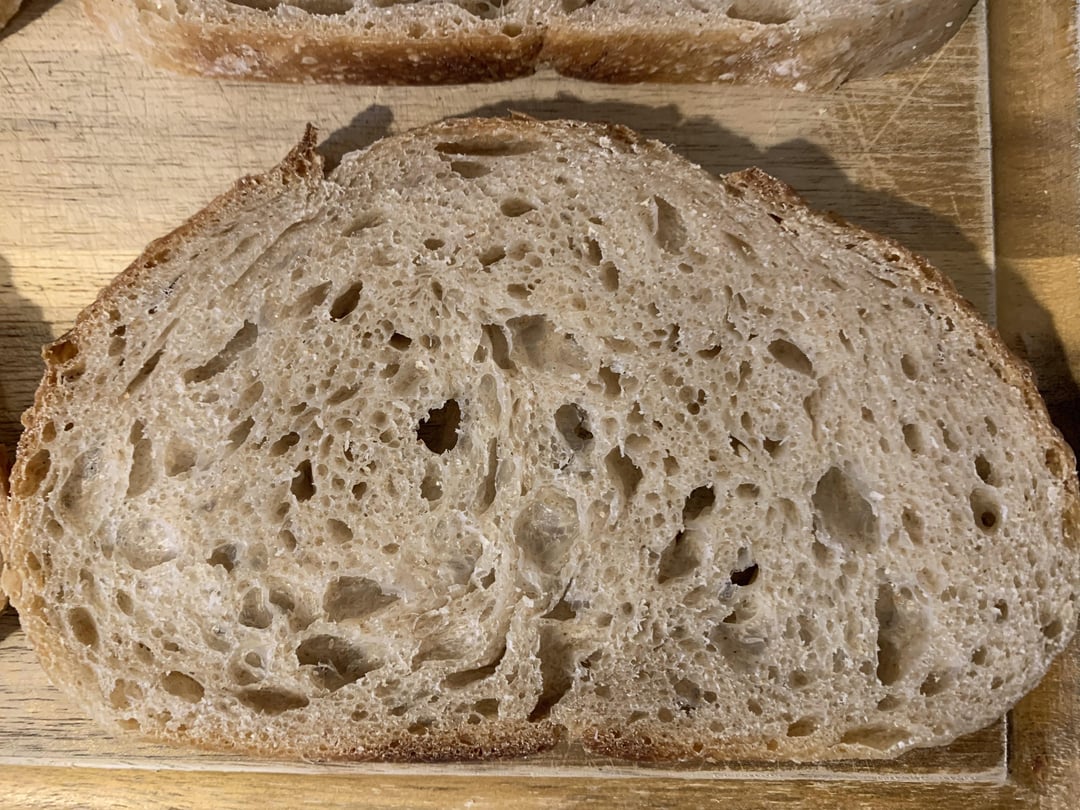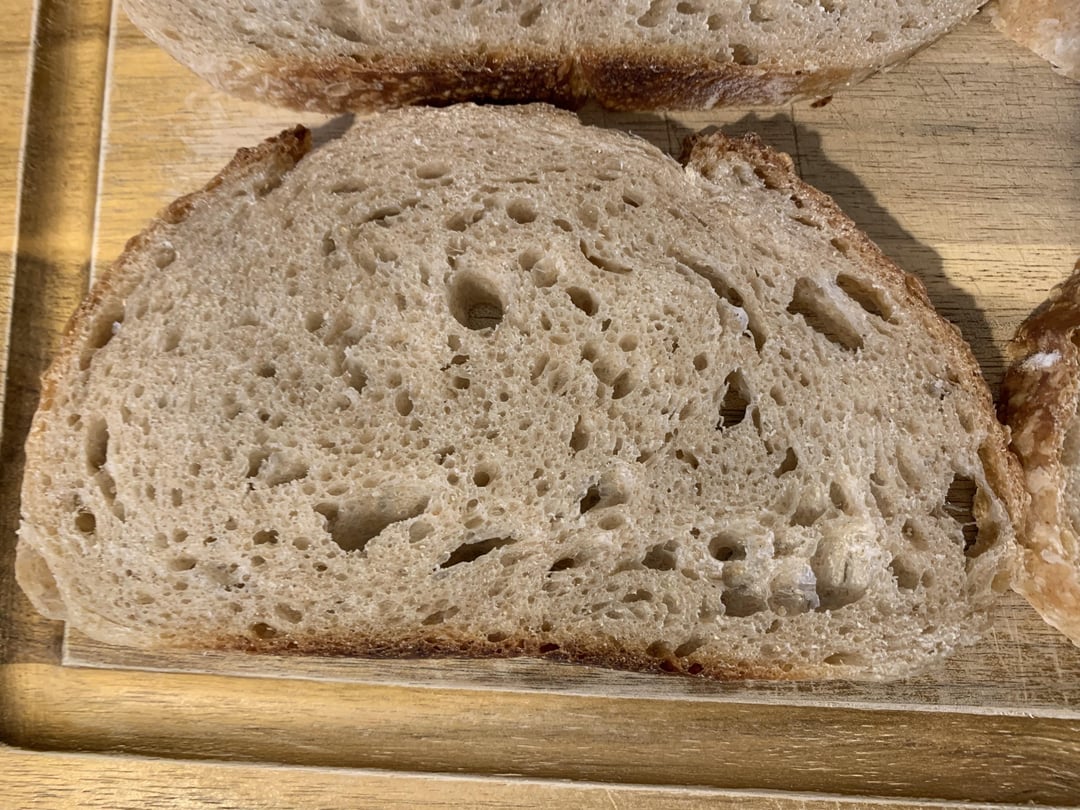


Here’s 4 of the last slices of a loaf I made. Realistically I’ll probably only make bread to look like this since it’s great for sandwiches and spreads. But to experiment I haven’t made any loafs with those giant holes that some would call a wild crumb. Here’s my ratios, it’s 75% hydration (KA Flour):
- Bread Flour 336g
- Whole Wheat Flour 96g
- Starter 96g
- Water 312g
- Salt 9g
Process:
This all starts at around 5:15-5:30p then I don’t shape until the next morning at 6:30a. My house is 66-68 degrees in the winter and the kitchen can get quite cold at night.
1 – Mix water, peaked starter, and flours. Once together, fermentolyse for 1-2 hours. Then add in salt.\
2 – Three stretch and folds 30mins or so apart, where I usually knead the dough a bit on the second and third stretch and folds.\
3 – One lamination/letter fold, then into a container to bulk ferment.\
4 – The next morning, I preshape, dust the banneton, final shape, and into the fridge for 4-24 hours.\
5 – Bake at 450 covered in Dutch oven for 30 mins. Then 400 uncovered until done. Let cool for several hours before cutting.
Do I need a warmer bulk fermentation temperature or bulk for longer? Go 100% bread flour?
by RyanDayUrbanMeyer

17 Comments
Your crumb looks perfect, empty holes are not going to feed you
From what I’ve read, the short path to exaggerated open crumb is to use a small quantity of instant yeast.
Yes longer bulk for sure. Despite the 12hr bulk it still looks underproofed too me… could try upping the % of starter.
Higher hydration
bring your hydration from 72% to 80%, lamination and stretches (I do at least 4 coil folds after lamination and a strong bench fold before lamination). I also autolyse for an hour. Anything that will allow the gluten to be elastic and extensible when the gas expands creating larger holes. From your notes it seems you’re doing all this.
But you’ll have to nail fermentation. This assumes you’re using high protein flour that can withstand high hydration and long fermentation.
If I was you i’d change one thing at a time and would start with hydration. Though, it seems you could be a it underproofed.
Hi. Holes are formed by carbon dioxide, before those holes pop.
This suggests you want to increase amount of carbon dioxide produce as well as make the dough more stretchable.
Both are easiest to get by increasing dough hydration. The more water in the dough, the more of the flour can get converted to carbon dioxide before the water gets too saturated with metabolites which would stop the reaction. Two times more water == potential for twice the amount of carbon dioxide.
Higher hydration will also allow dough to stretch more without breaking, at least up to a point.
But the dough needs to be elastic to be able to survive it without deflating. This suggests you also need to develop gluten network well.
You mentioned kneading the dough during the stretch and folds. I would say this might push some of the air out of those big pockets. It might be better to just do the stretch and fold or foil folds and be a bit more gentle with the dough to allow those air pockets to stay/grow.
Less wholegrain flour. Use high protein bread flour (13% or higher), high hydration (70-80%), 30 min – 1hr autolyse with the levain in the dough, stretch and fold, overnight fridge fermentation, nail the proofing time (sorry this one is the hardest!). Gentle shaping, ACTIVE starter.
There’s A LOT involved in answering your question and I highly rec “Open crumb mastery” to answer it. Please don’t listen to comments naming a single reason.
80% hydration with high gluten flour (14%+) will produce insanely open crumbs if your starter is very active.
The switch from regular bread flour to something like KA high gluten flour (or all trumps, etc.) will be very noticeable in terms of the ability of the dough to trap gas.
I think that looks beautiful.
……. I can’t help myself……. THATS WHAT SHE/HE SAID!!!😂😂😂
I’ve been doing this for ~10 years.
The measure of a well proofed loaf is an even crumb – that is the difference between the biggest and smallest alveoli should be small. Under that definition, your bread looks under-proofed. The holes you have look to be trapped air from dough handling rather than a product of fermentation. Your loaf is also really pale. When properly fermented, the starches have time to convert to sugars and add more color to the loaf during the bake.
– I suggest focusing on learning when your dough is over/under proofed. The only way to do that is to push it until over-proofed so that you can feel the dough through the different stages. Do not change any other variables except for…
– Proof in a warmer area, like an oven with a pilot light. You don’t need a fancy proofing box, but you do need to have a consistent temperature range. Cooler temperatures tend to favor LAB activity that produces acid, rather than yeast activity. You want to get your rise in first, since acidity will eventually break down gluten in your bread.
A dilator
You really are pushing becoming an alcoholic. They’re perfect.
Idk man, I like your holes just how they are
Whole wheat, in my experience, always results in a tighter crumb than bread flour alone. I actually prefer a tighter crumb, so I add WW to my recipe to close open crumbs. I would replace the WW with BF and keep everything else the same. Fwiw, I think your crumb looks great. I’ve also been successful by doing a full stretch of the dough after bulk/ stretch and folds. I stretch it out into as flat and uniform a rectangle I can. I then divide in two and shape from there. When I started doing this, my crumbs began to look more similar to what I believe you want.